|
Forums >> Revit Systems >> Technical Support >> My bump lines are too thick and heavy.
|
|
|
active
Joined: Tue, Jan 26, 2016
0 Posts
No Rating |
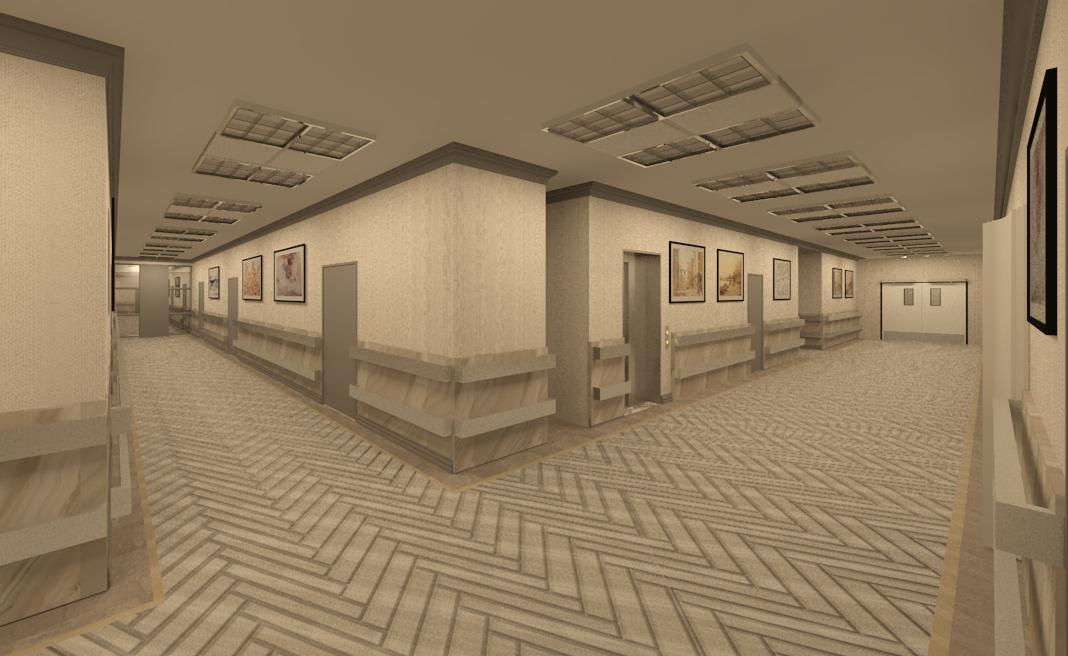
I'm trying to give my tile a texture look. I did this by creating a bump pattern in autocad and then layering on top of my floor. The bump lines look so thick and heavy. What am I doing wrong?
Attached is a picture of the floor tiles.
|
This user is offline |
|
 |
|
|
|
active
Joined: Mon, Aug 6, 2012
0 Posts
 |
I've never used AutoCAD to create a Bump Image. I create my Bump Images in Photoshop by converting the Material's colored image (the one I'm using in my material's Appearance) to Grayscale and then adjusting Brightness and Contrast and Blur to suit me. I save that image as my Colored Image's BUMP and load it into my Revit Appearance.
|
This user is offline |
|
|
|
active
Joined: Tue, Jan 26, 2016
0 Posts
No Rating |
What is the correct way to set up this floor for rendering? I would like to be able to see the herringbone pattern on my floor. Without the bump that I stuck in there, all I see is a gray smooth floor. I can create the model hatch pattern, but there are no grout lines when I render. I don't know how to define the shape of my tiles in realistic view when using the herringbone pattern.
|
This user is offline |
|
|
|
active
Joined: Mon, Aug 6, 2012
0 Posts
|
Have you tried adding a Custom Relief Pattern?
|
This user is offline |
|
|
|
active
Joined: Tue, Jan 26, 2016
0 Posts
No Rating |
Sorry. That's what you are looking at in that picture. It's a custom relief pattern. But the lines are so heavy. How do I make them thin?
|
This user is offline |
|
|
|
active
Joined: Mon, Aug 6, 2012
0 Posts
|
Okay…If I wanted line work to appear “not so thick”, I’d probably look at the image’s scale first – not with the Bump or Relief. Those are by-product images.
|
This user is offline |
|
|
|
active

Joined: Tue, Aug 25, 2009
0 Posts
|
the grout lines are huge relative to the size of the tile. I think this might be causing some of the problem.
|
This user is offline |
View Website
|
|
|
active
Joined: Tue, Jan 26, 2016
0 Posts
No Rating |
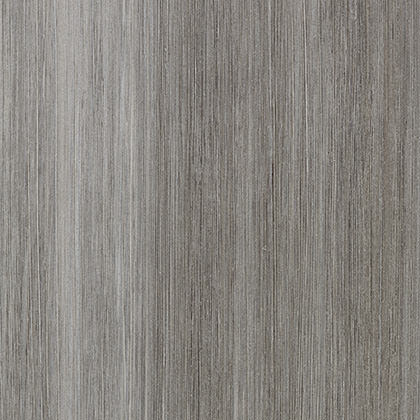
The picture that I used was a single tile. I was trying to add the herringbone pattern so we could actually see the layout. Without the relief pattern, it appeared like a smooth grey floor.
Attached is the tile that I used. Is there another way to layout this tile and still get the pattern into the image?
|
This user is offline |
|
|
|
active
Joined: Wed, Aug 19, 2015
0 Posts
 |
You could try making the pattern in the tile image itself and have it cropped so that the edges align that way when it is repeated it looks correct
|
This user is offline |
|
|
|
active
Joined: Tue, Jan 26, 2016
0 Posts
No Rating |
I do that with photoshop?
|
This user is offline |
|
|
|
|
|
active
Joined: Mon, Aug 6, 2012
0 Posts
|
Interesting...so, your appearence image is not a tiled flooring pattern itself; instead, it's a single piece of tile, like a 12"x12" or 8"x8"? And, onto that image your're overlaying the grout lines as a bump and/or relief image? Is that right? I have never used this approach. I don't even know how that would work. The way I do it is to go online and Google for images of flooring tile. I pick an image that shows a section of 4 or more tiles grouted together. Also, I use the exact same image (including the image settings) for my material, bump and relief custom images.
|
This user is offline |
|
|
|
active
Joined: Tue, Jan 26, 2016
0 Posts
No Rating |
So if a designer wanted to see the floor with this particular tile in that pattern, I wouldn't be able to custom design it?
|
This user is offline |
|
|
|
active
Joined: Mon, Aug 6, 2012
0 Posts
|
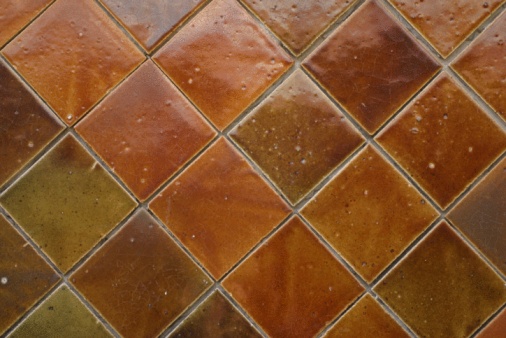
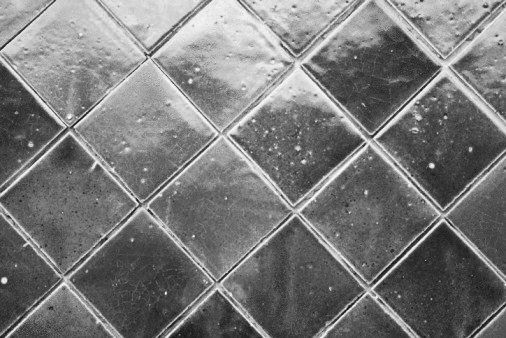
Here's an example of what I mean...same image; the grayscale for the bump...
Edited on: Thu, Aug 11, 2016 at 11:55:21 AM
|
This user is offline |
|
|
|
active
Joined: Wed, Aug 19, 2015
0 Posts
|
You can do this for your tile you wojust need to put in some time and make the pattern as a single image that can be repeated. You would have to insert your image and place it and then insert again and place it and rotate it and so on an so forth and then you would need to make sure the top/bottom edges and left/right edges align with each other. Bartholomew's example image would not work very well as the if you repeated that image side by side the edges would not line up. so that any cut tiles come together to make full tiles.
|
This user is offline |
|
|
|
active
Joined: Mon, Aug 6, 2012
0 Posts
|
Actually, the image works wonderfully. The image scale was adjusted inside Revit; essentially cropping it so it would tile seamlessly. Also, this is the tile's orientatation. It's a kitchen counter backsplash. BTW: the as-built home's backsplack looks remarkably similar to the renderings.
|
This user is offline |
|
|
|