Forums
|
Forums >> Revit Building >> Technical Support >> CMU to aluminum
|
|
|
active
Joined: Tue, Dec 4, 2012
24 Posts
No Rating |
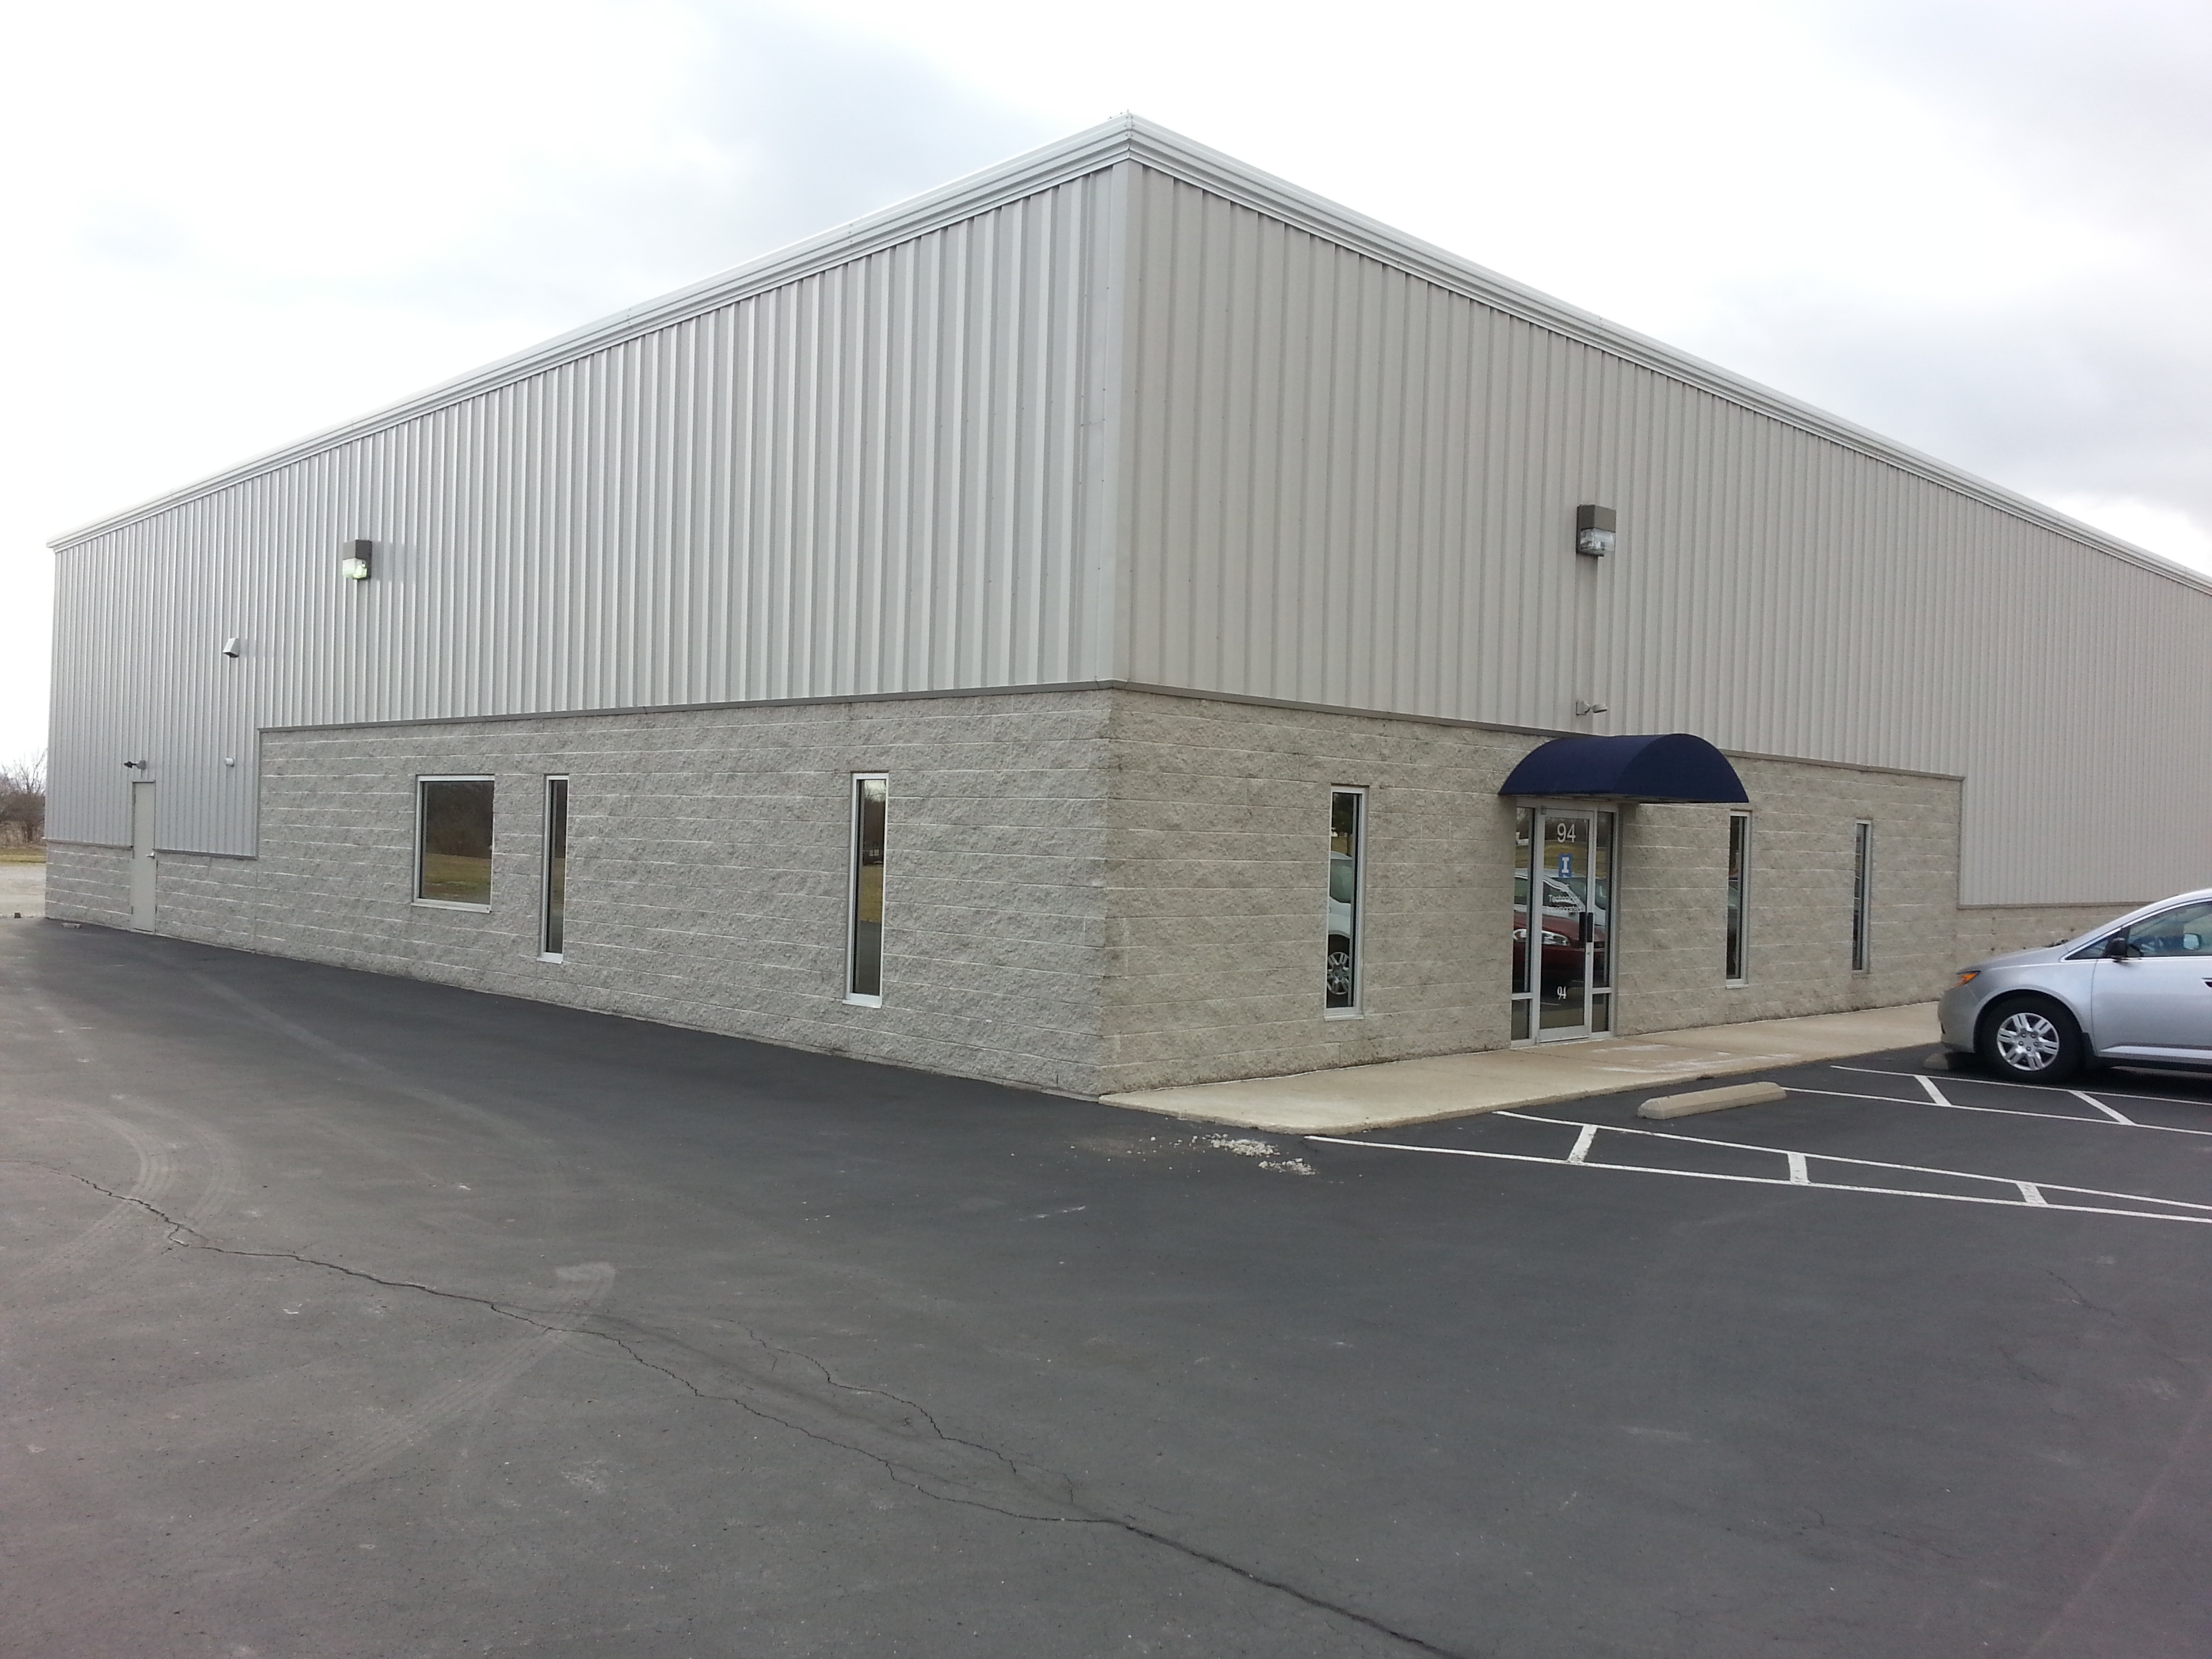
Can anyone tell me how to modify my wall structure in revit ro allow for the siding to pertrude out over my cmu like in this picture? I have my wall modified to show this change in texture, but they are flush with each other and when I change it in wall structure it changes my siding layer as well.
-----------------------------------
"The road to success is always under construction" |
This user is offline |
|
 | |
|
|
site moderator|||
Joined: Tue, May 16, 2006
13079 Posts
 |
You model like you build. Two different walls here - each with its own finish.Then in section - move the upper one out.
|
This user is offline |
|
|
|
active
Joined: Tue, Dec 4, 2012
24 Posts
No Rating |
Oh wow I have been trying this for a long time and trying to just modify the wall by splitting surfaces. Never thought about making them seperate structures. What if the wall in the picture were eifs and I wanted to creat the same effect?
-----------------------------------
"The road to success is always under construction" |
This user is offline |
|
|
|
site moderator|||
Joined: Tue, May 16, 2006
13079 Posts
|
Same answer.
Two different EIFS walls of different thicknesses.
If the inside face of all walls is on the same plane and the same material, they can be joined so there is no lines between them.
|
This user is offline |
|
|
|
active
Joined: Tue, Dec 4, 2012
24 Posts
No Rating |
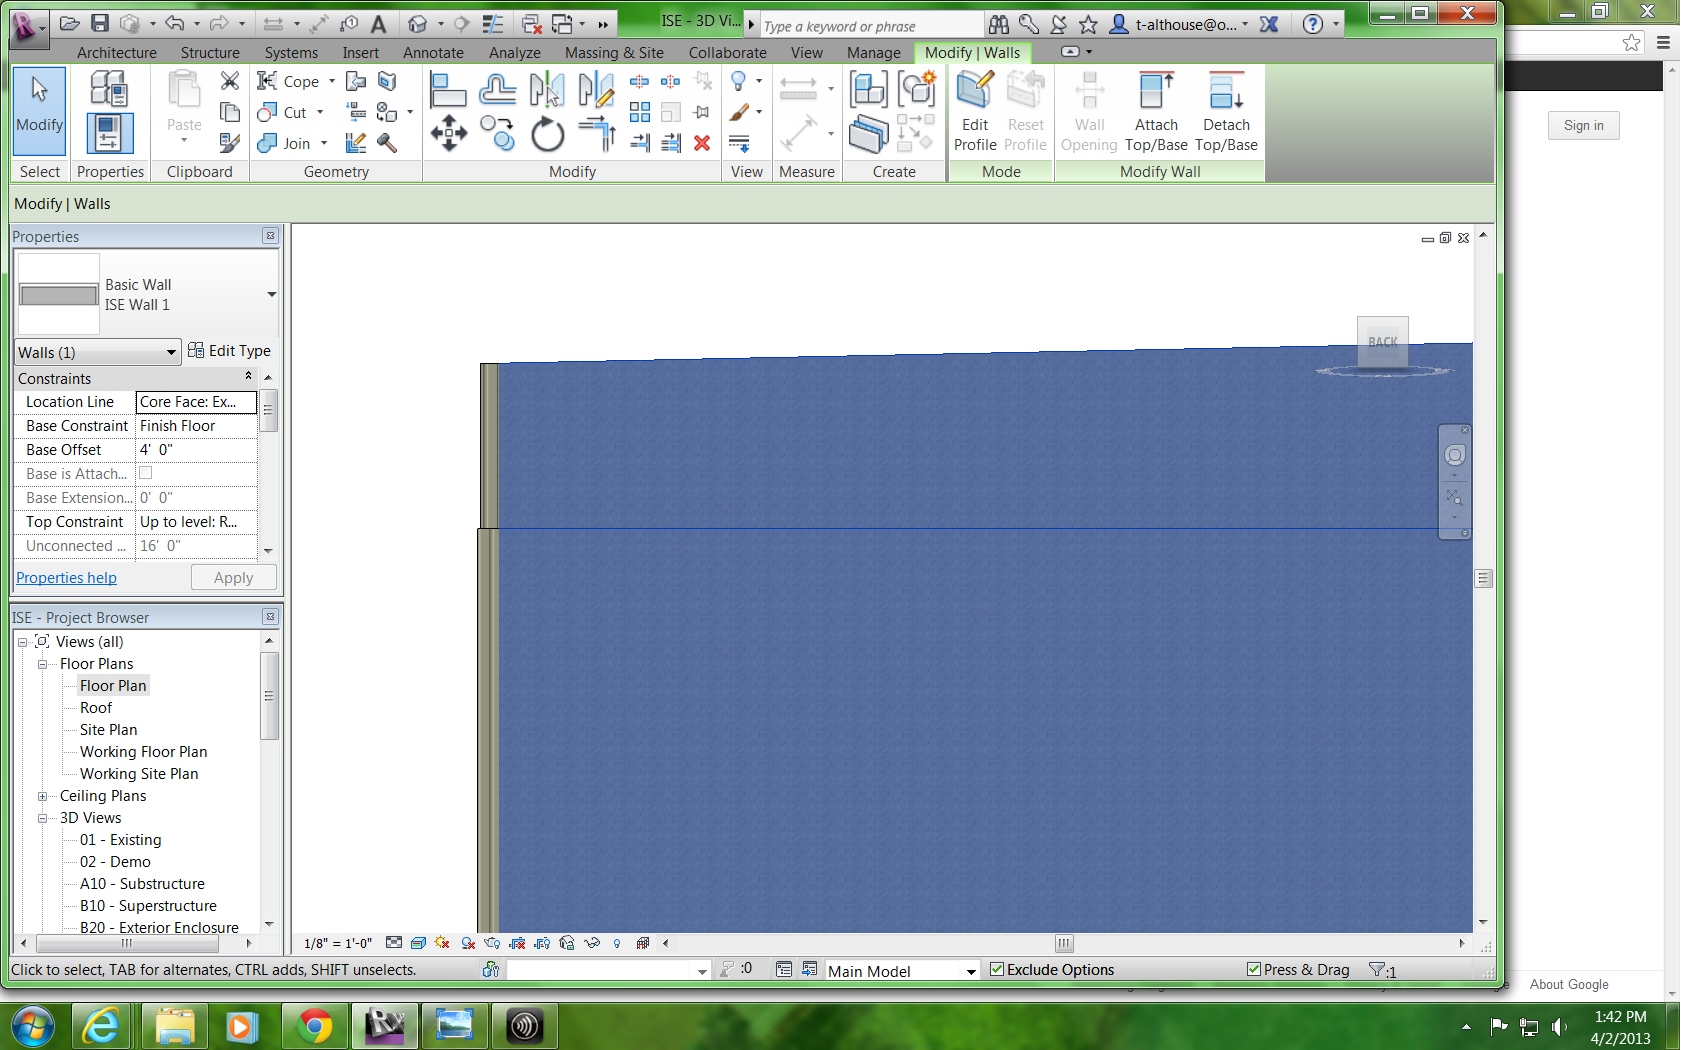
Ok I have that figured out, but now when I try to attach the siding part of the wall to my roof, I am left with this. Not sure why or how to fix it. It was just showing structural material until I turned wraps on. On wall didn't do it, but then after I made some changes, is doing the same thing.
-----------------------------------
"The road to success is always under construction" |
This user is offline |
|
|
|
site moderator|||
Joined: Tue, May 16, 2006
13079 Posts
|
Sorry but you are not communicating. What are you showing us?
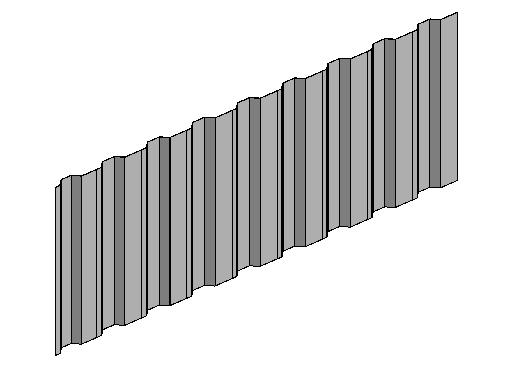
- I think I see metal panel on the end of the wall on the left but what is this other stuff?
- What is your wall composition?
.... and what are you telling us with this: "... It was just showing structural material until I turned wraps on...." ?
- What is your structural material that you say it is showing?
- Do you mean there is no finish over the structural material?
- What does wraps have to do with this? << NOTHING!
|
This user is offline |
|
|
|
active
Joined: Tue, Dec 4, 2012
24 Posts
No Rating |
I am showing a wall extended to the roof. It was showing up as gray structural material with a 1.25" step in at 25' up, and when I turned wraps on, the gray changed to siding. I'm sure I will figure it out a lot easier than it is to try to explain.
-----------------------------------
"The road to success is always under construction" |
This user is offline |
|
|
|
site moderator|||
Joined: Tue, May 16, 2006
13079 Posts
|
That sure doesn't sound like two dfferent wall types each with its own finish..... Good Luck. I tried.
|
This user is offline |
|
|
|
active
Joined: Tue, Dec 4, 2012
24 Posts
No Rating |
It most certainly is, but for some reason, like I said, completly unexplained, the top of my wall eliminated the finish automatically when I attached it to the roof. The two different wall types are fine, they are at the bottom of the wall, as shown in the picture, but the top of the wall with siding automatically removed the siding (1.25") at about 5 feet down from the roof, as show in the second attachment. This left the gray structural material underneath showing, and as I was trying to trouble shoot, turning on wraps at least applied the material to the part of the wall which was cut away, as you can see in the attachment. I simply wanted my siding to go all the way up to the roof, not stop five feet below the roof. I am not sure how else to communicate the issue. I feel like the picture shows exactly what I am saying, that my finish layer is cut off five feet below the roof line for no apparent reason. I was able to fix it, but have no clue how or why or even what was happening and was hoping I could get help to prevent it from happening again, not just to be made to look like an idiot. Shouldn't have asked.
-----------------------------------
"The road to success is always under construction" |
This user is offline |
|
|
|
site moderator|||

Joined: Fri, Feb 10, 2006
1874 Posts
 |
Hi althhouse,
I'm sure there was no intent to make you feel like an idiot. This the place to asked questions, so of course you should
have asked. You will find that there will be plenty of times when things seem to happen for no apparent reason.
It's just part of the process of learning Revit. I glad that that resolved your problem and maybe you could share your
soultion so that others who may encounter such have another possible solution for reference.
Edited on: Fri, Apr 5, 2013 at 12:05:05 AM
-----------------------------------
best regards, coreed,aia bmpArchitects,Inc. "Revit has to be implemented, Not installed." Long Live Revit |
This user is offline |
|
| |
|
|
active

Joined: Mon, Aug 30, 2010
27 Posts
 |
difficult to make stack wall, but enable by curtain wall ( as attached). Is that your answere?
|
This user is offline |
|
|
|
Similar Threads |
|
Aluminum panel wall |
Revit Building >> Technical Support
|
Tue, Jul 6, 2010 at 10:02:21 AM
|
4
|
|
Aluminum Members Beams and Columns |
Revit Structure >> Technical Support
|
Thu, Aug 6, 2015 at 7:05:21 AM
|
1
|
|
CMU wall reinforcement and detailing |
Revit Structure >> Technical Support
|
Mon, Nov 22, 2010 at 1:32:03 PM
|
9
|
|
CMU in a cut section |
Revit Structure >> Technical Support
|
Mon, May 25, 2009 at 12:50:44 PM
|
7
|
|
CMU Wall |
Revit Building >> Technical Support
|
Thu, May 7, 2015 at 12:15:47 PM
|
4
|
|
|
Site Stats
Members: | 2161655 | Objects: | 23325 | Forum Posts: | 152479 | Job Listings: | 3 |
|