|
|
|
Home | Forums |
Downloads | Gallery |
News & Articles | Resources |
Jobs | FAQ |
| Join |
Welcome !
|
7 Users Online (5 Members):
Show Users Online
- Most ever was 626 - Mon, Jan 12, 2015 at 2:00:17 PM |
Forums
|
Forums >> Revit Building >> Technical Support >> Modeling of curved walls
|
|
|
active
Joined: Sat, Jul 18, 2009
1 Posts
No Rating |
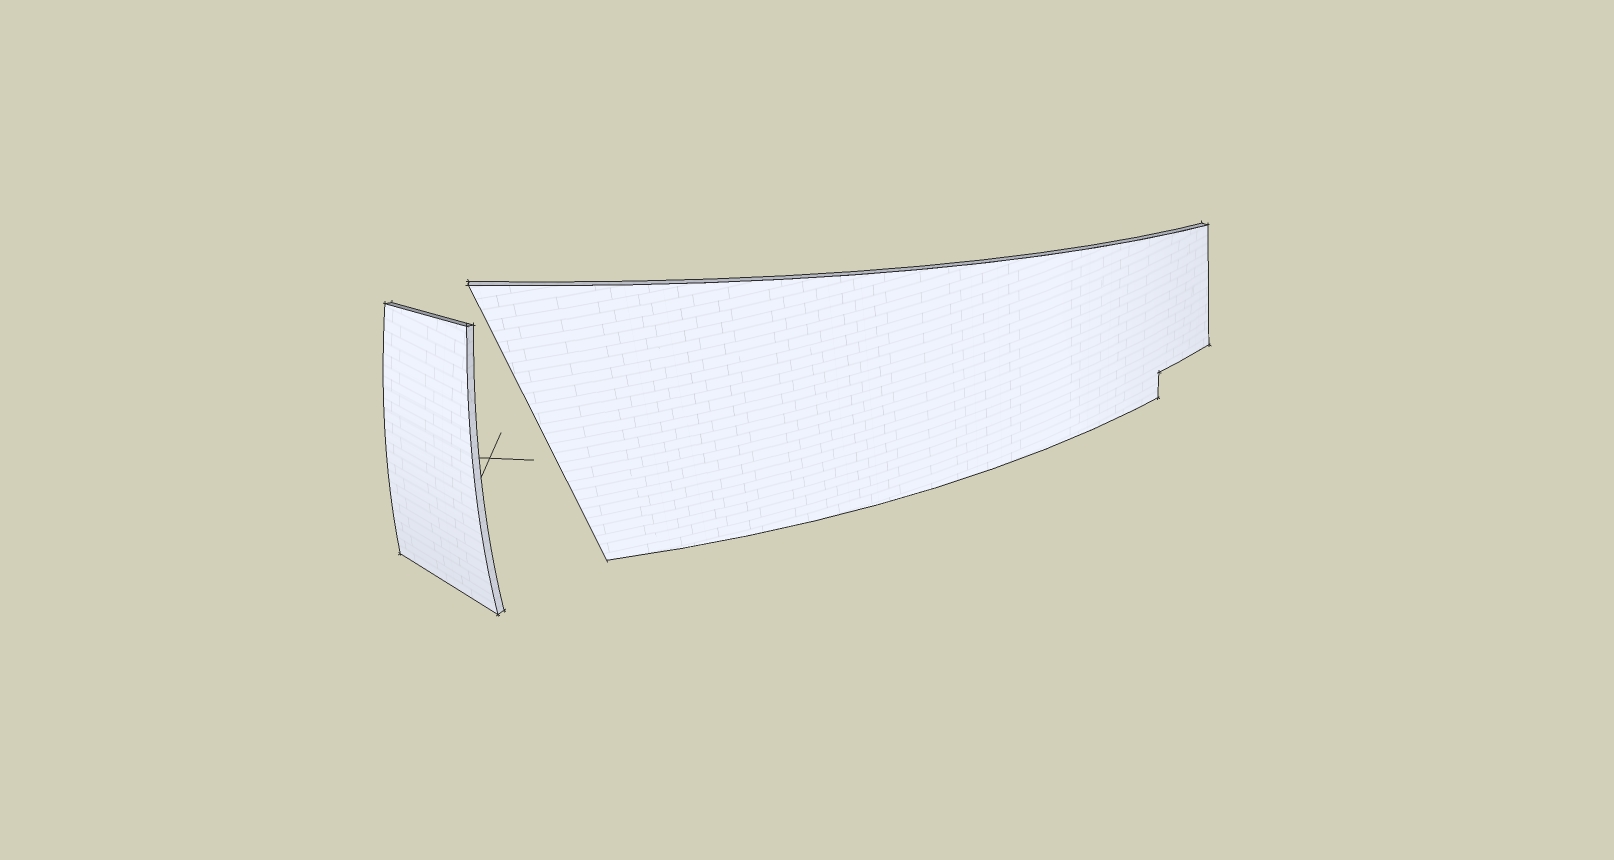
I've been given the job of recreating some curved walls in Revit that were origianlly modeled in sketchup. The modeler did not keep the original curved surfaces and the geometry is not easily described. I've tried importing the sketchup model into a mass in revit but I cannot snap to the geometry to place points. I've tried the same thing in a conceptual mass but to no avail. This needs to be done in Revit only, no Rhino, etc.
How can I EASILY use the sketchup mass to create new surfaces to apply walls to? Please be as specific with your recommendations as possible (use conceptual mass environment, use in-place mass, splines, points, reference places, etc) as I am new to 3d modeling in revit.
Using revit 2013.
|
This user is offline |
|
 | |
|
|
active
Joined: Wed, Sep 12, 2012
1 Posts
No Rating |
To draw the curve of a wall use plan view with detail lines in Revit. Also choose pick lines method to precisely place the wall. Choose from variety of arc and circle tools to lay out the curved detail line. You can also use the tangent arc tool to draw up arc'd walls in Revit.
|
This user is offline |
|
|
|
site moderator|||

Joined: Tue, May 22, 2007
5921 Posts
 |
"Massing and Site" OR "Conceptual Mass" then create a MASS with the correct shape, maybe you'll need to create some VOIDS too, then apply "Wall By Face".
-----------------------------------
I Hope and I Wish to LEARN more, and more, and more.... REVIT |
This user is offline |
|
|
|
site moderator|||
Joined: Tue, May 16, 2006
13079 Posts
 |
If you can't correctly describe it to model it than how can you tell them to build it. Building sized 3D printers just don't exist yet!
I think you have to model it in a way that you can describe and dimension.
|
This user is offline |
|
|
|
active
Joined: Wed, May 14, 2008
209 Posts
No Rating |
First go to insert then link cad then pick sketchup file type. Load into project and place where you need it. Then make an in-place "mass" model. In your in place mass model use select 3d edges to create the shape of a mass, select the inside edges of your curved wall so you can create a form from. Once you have made the mass finish it and then under massing and site create wall by face. That is the fastest way I know.
Edited on: Wed, Sep 12, 2012 at 11:33:36 AM
|
This user is offline |
|
|
|
Similar Threads |
|
curved curtian walls |
Revit Building >> Technical Support
|
Mon, Nov 13, 2006 at 6:19:28 AM
|
3
|
|
curved surface |
Revit Building >> Technical Support
|
Tue, Nov 6, 2018 at 7:03:42 AM
|
1
|
|
Sloping curved walls? |
Revit Building >> Technical Support
|
Thu, Apr 20, 2006 at 10:09:16 AM
|
1
|
|
Attaching Curved walls to underside of Curved Stairs |
Revit Building >> Technical Support
|
Wed, Sep 12, 2012 at 12:43:47 PM
|
10
|
|
Complex Curved Walls - please help |
Revit Building >> Technical Support
|
Wed, Mar 25, 2009 at 5:26:10 PM
|
6
|
|
|
Site Stats
Members: | 2161655 | Objects: | 23325 | Forum Posts: | 152479 | Job Listings: | 3 |
|