Forums
|
Forums >> Revit Building >> Technical Support >> Custom Steel Truss looks horrible, how can I fix it?
|
|
|
active
Joined: Sat, Oct 22, 2011
14 Posts
No Rating |
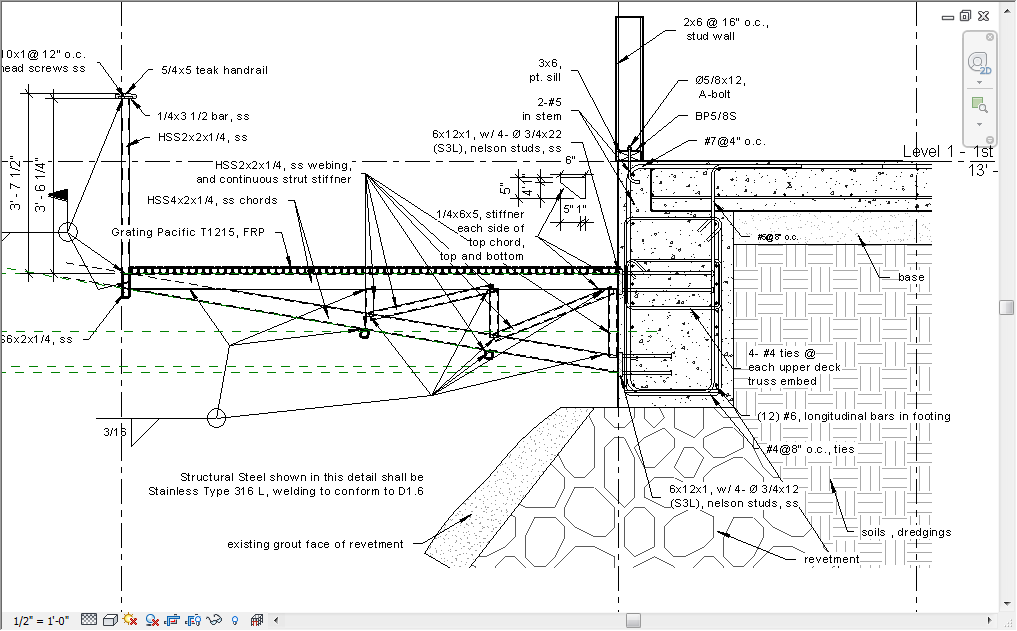
2012 Revit Arch, and I need a large steel truss.
I made a truss that fits perfectly in my project but all of the webbing posts have gaps on the ends and it looks like crap in renderings & section views. Revit doesnt seem to give any options when drawing the truss, but then its too much to ask for Revit to auto join the pieces?
Does anyone have any advice on how to remedy this? I have the truss visible in a perspective rendering as it is a key component to my building design, but it looks entirely out of place when everything else has been well detailed in the rendering.
|
This user is offline |
|
 | |
|
|
active

Joined: Fri, Sep 22, 2006
759 Posts
 |
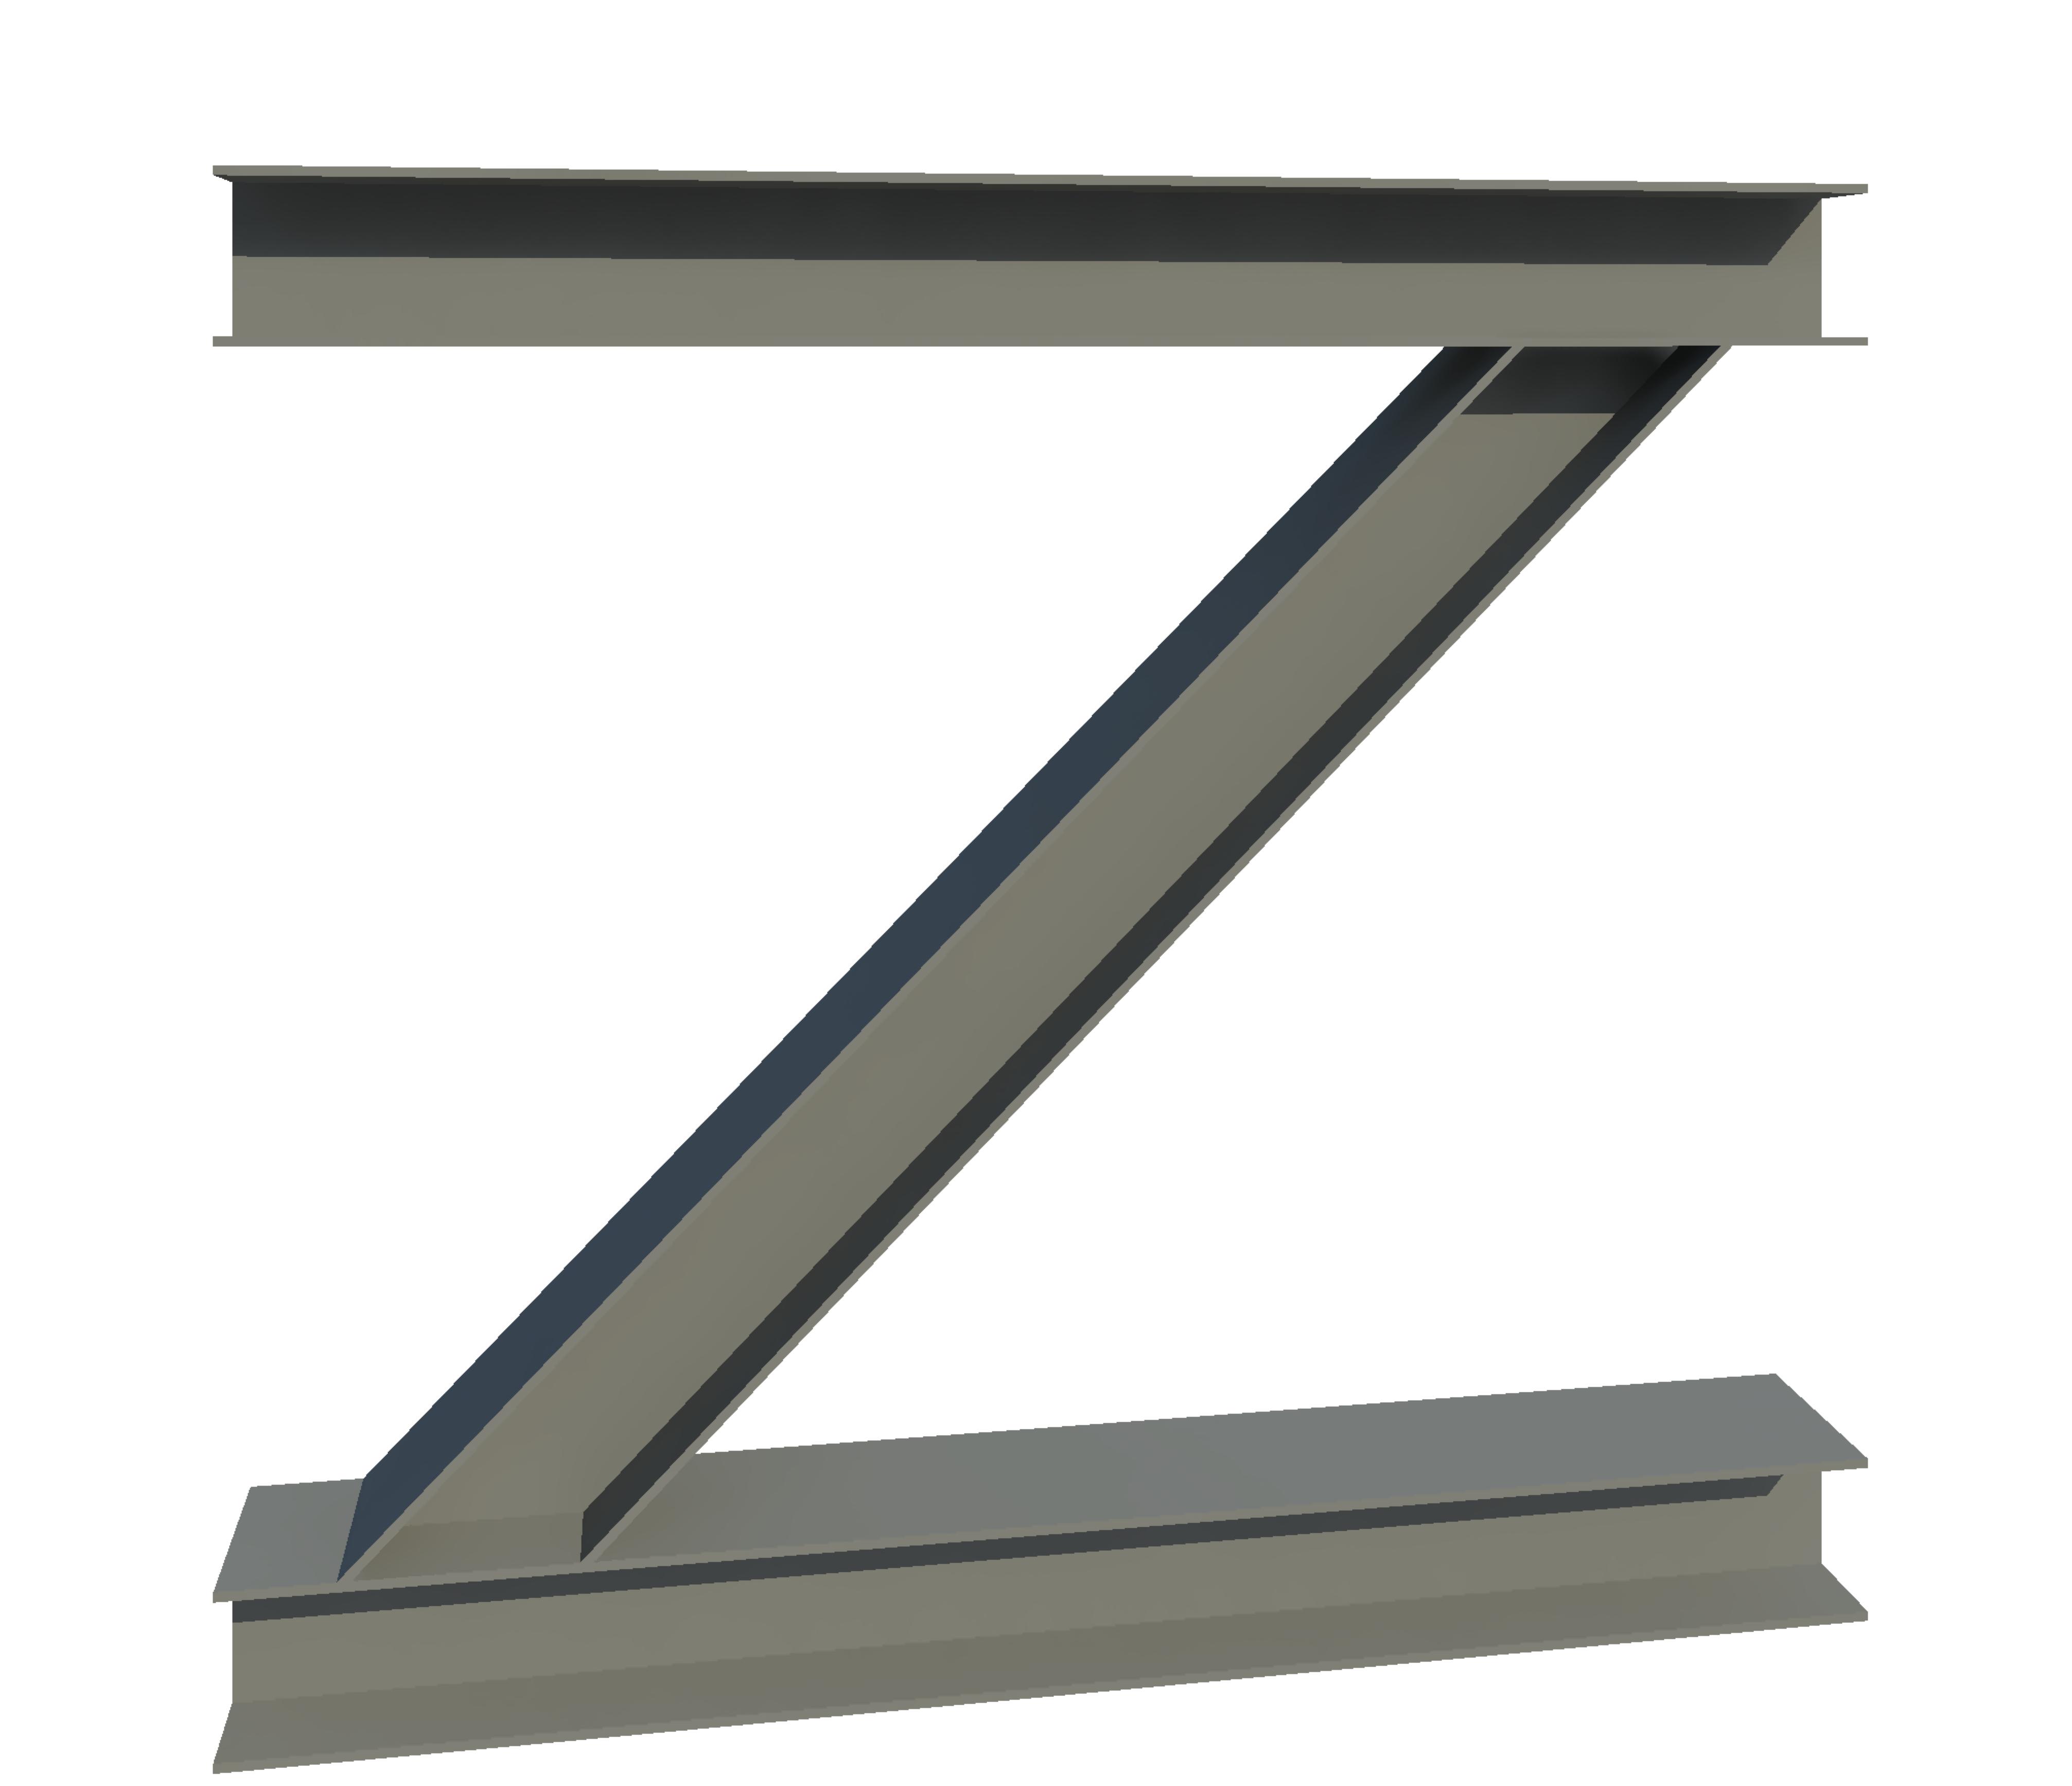
Believe I did this one with sloping columns, to get it to look correct even so the ends don't cut right. This may have originally been drawn in 2009, so the new 2012 may work better.
|
This user is offline |
|
|
|
active
Joined: Sat, Oct 22, 2011
14 Posts
No Rating |
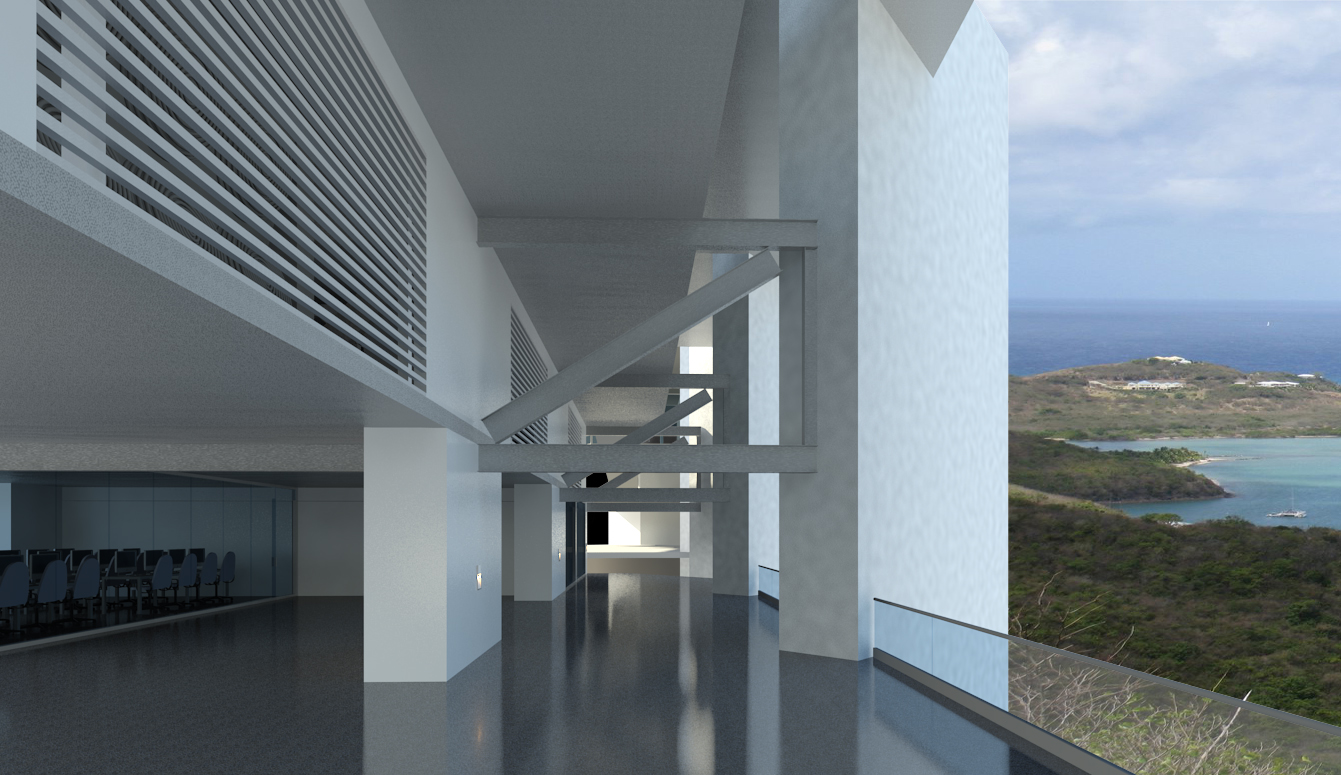
So you drew the webbing for the truss as columns, then set them at the approtpiate angle to look like a truss? (am I understanding you right)
Ive attached one of my renderings (hope it works) of how it looks now. (I need to fix the background too, lol)
Ive gone into the truss family and extended the webbing lines far past the edges of the truss and that seemed to work a little. Now the truss members all seem to connect, but Revit isnt too happy about it because they are overlapping instead of being joined. I wish Revit's coping tool would work on trusses the way it does on floor supports.
Edited on: Thu, Dec 8, 2011 at 12:18:06 PM
|
This user is offline |
|
|
|
active
Joined: Fri, Sep 22, 2006
759 Posts
|
I see the dilema and if you use the sloping column as your brace work, there is an option to allow you to miter the top and bottom but only at 90 degrees I think, so you can cut the bottom flat or vertical.
|
This user is offline |
|
|
|
active
Joined: Wed, Jul 5, 2006
2 Posts
No Rating |
If you place the items as structural beams, you can use the coping function to 'trim' the brace beam to the horizontal beams. Set the coping distance to zero.
|
This user is offline |
|
|
|
active
Joined: Fri, Feb 20, 2015
0 Posts
No Rating |
As this is the toplisted Google result when searching for truss connection problems, I figured I would post what I found here.The easy fix to get it looking correct for renderings is to "remove truss family" (which makes it a bunch of individual pieces), then select all the vertical pieces and set the "start/end join cutback" to something like -0.5'. Effectively, this just extends them beyond where Revit expects for a connection, making it disappear into the top/bottom chord.Not a perfect fix, but it works.
|
This user is offline |
|
|
|
active
Joined: Sun, Jul 26, 2015
0 Posts
No Rating |
Hi! I had the same problem and a colleague helped me out:
1. Set work planes on both top and bottom desired lines of the diagonal web
2. Select the truss
3. Press tab and click on the diagonal element, unpin it
4. Extend start and end join cutbacks so that the diagonal element goes beyond the desired lines
5. Select CUT on the modify menu, select the unpined element, and cut with the aid of the reference planes drawn before
This worked for me, hope I explained it right!
|
This user is offline |
|
|
|
Similar Threads |
|
Custom Steel Truss HELP??? |
Revit Structure >> Tips & Tricks
|
Sat, Oct 13, 2012 at 8:00:00 PM
|
0
|
|
Custom Steel Truss, HELP! |
Revit Structure >> Tips & Tricks
|
Thu, Oct 18, 2012 at 3:03:28 PM
|
2
|
|
Custom Truss. Custom Beam connections?? |
Revit Building >> Technical Support
|
Mon, Jul 6, 2015 at 11:01:03 AM
|
1
|
|
Truss steel system family creation |
Revit Building >> Technical Support
|
Mon, Oct 19, 2009 at 4:27:52 PM
|
3
|
|
Steel Truss |
Community >> The Studio
|
Tue, Feb 14, 2006 at 6:01:03 PM
|
2
|
|
|
Site Stats
Members: | 2161655 | Objects: | 23325 | Forum Posts: | 152479 | Job Listings: | 3 |
|