|
|
|
Home | Forums |
Downloads | Gallery |
News & Articles | Resources |
Jobs | FAQ |
| Join |
Welcome !
|
4 Users Online (2 Members):
Show Users Online
- Most ever was 626 - Mon, Jan 12, 2015 at 2:00:17 PM |
Forums
|
Forums >> Revit Building >> Technical Support >> Brick detailing - how to?
|
|
|
active

Joined: Thu, Jun 19, 2008
160 Posts
No Rating |
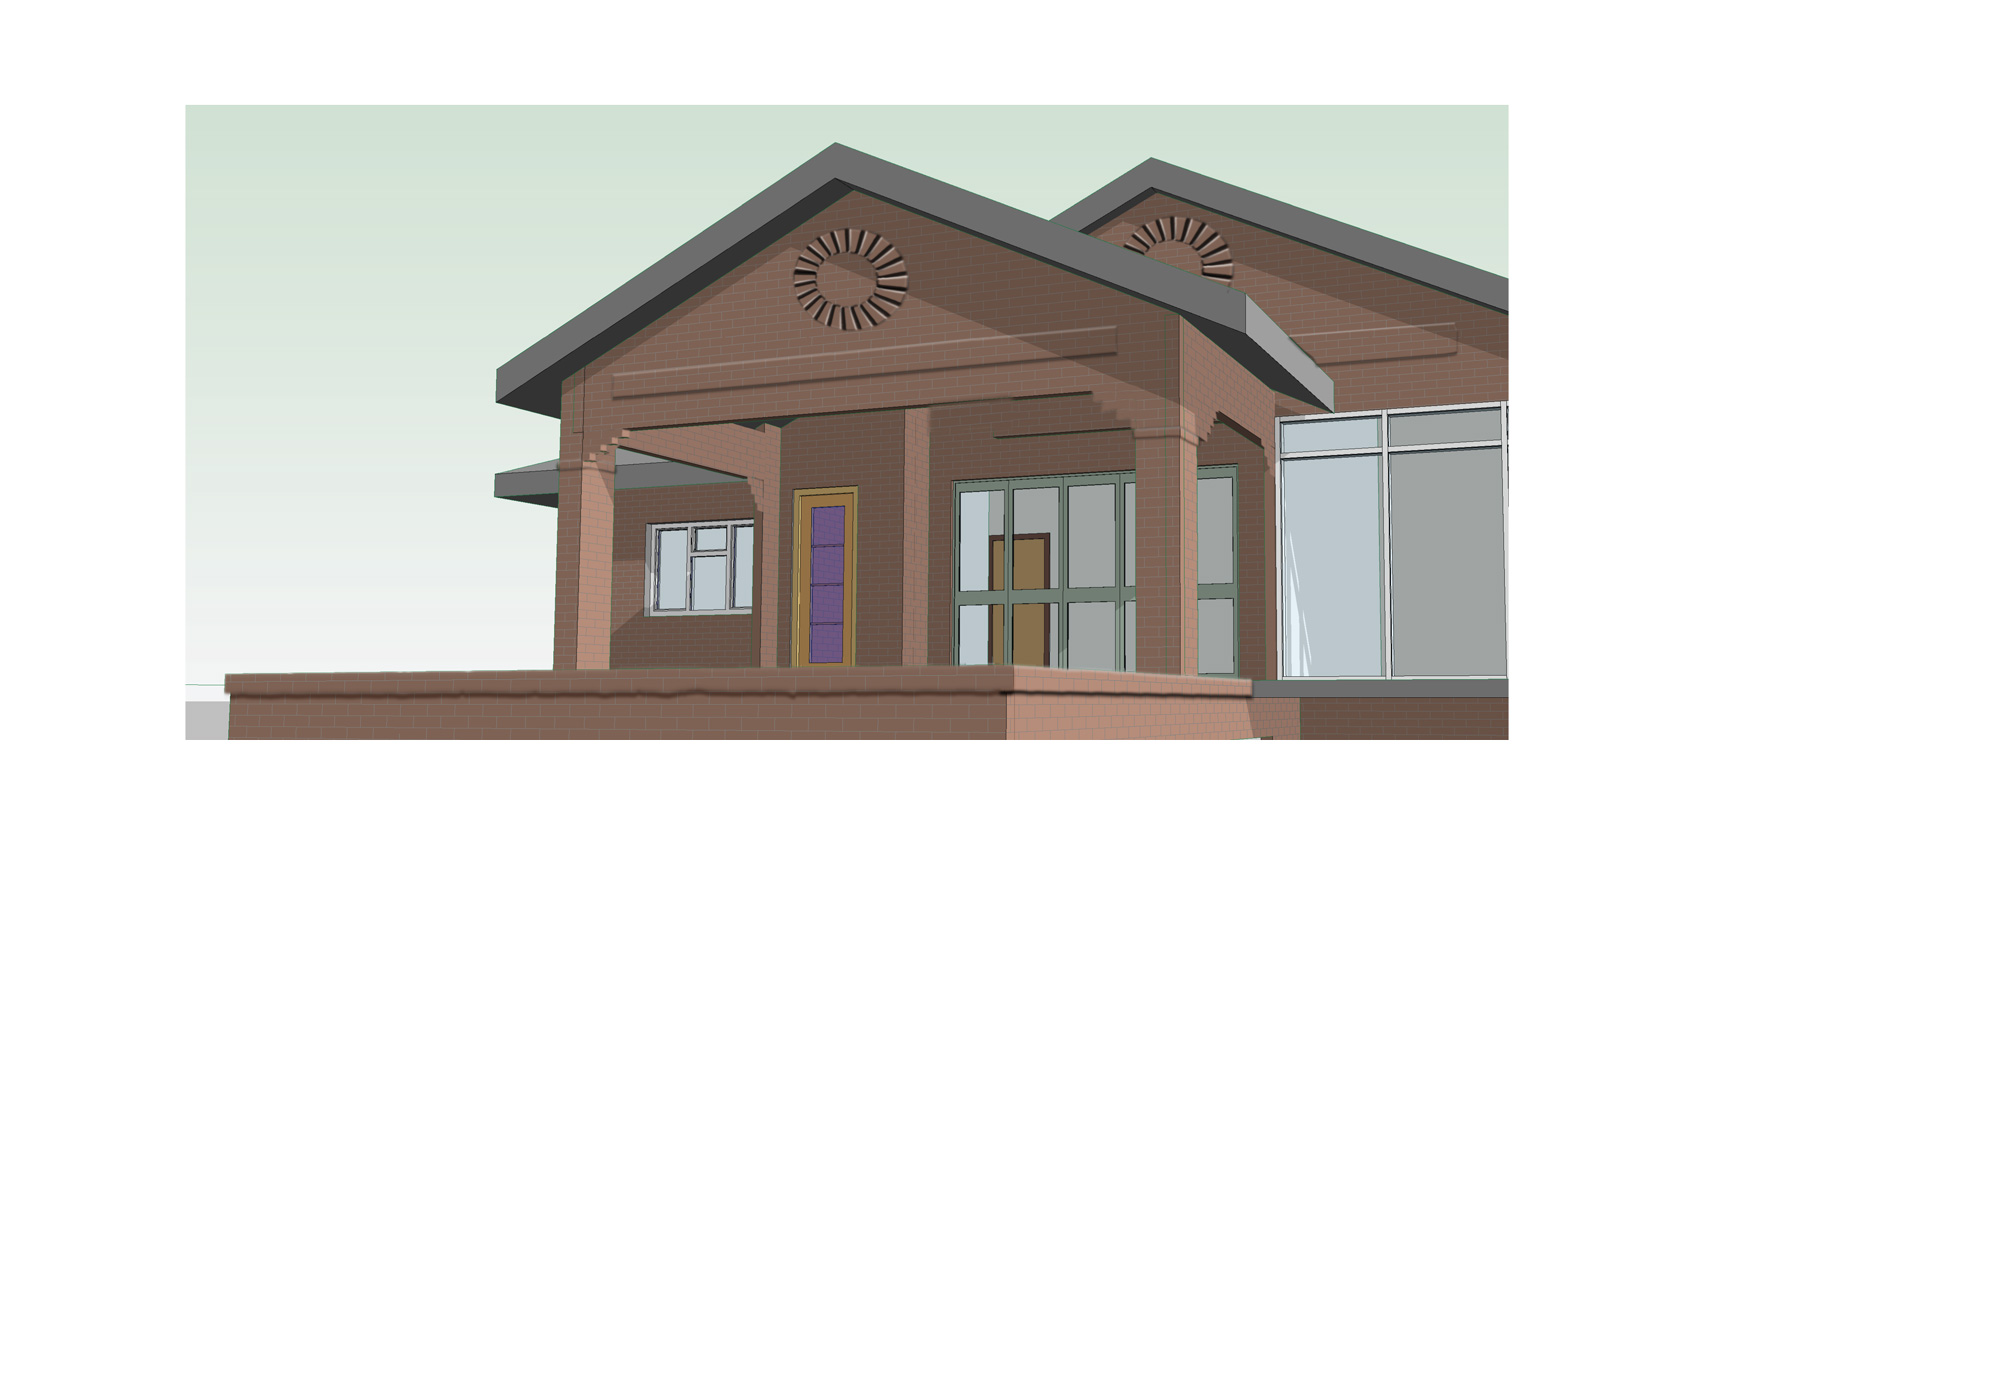
I need/would like to show some brick detailing on a presentation sheet/s.
Here is an image of what I have so far. I want to express some of the bk/wk on the gables & at the tops of the columns. There are some other brick detailing I would like to investigate on the project, but can I do it efficiently in the model Or shall I just do it on the elevations & forget about the 3d imaging.
I may be able to do somthing with Photoshop but it would be nice to do it with Revit
Revit 2011
-----------------------------------
I will be scoring goals soon, I'm in the back line at the moment!
Cheers Dermot
www.dmbd.net |
This user is offline |
View Website
|
 | |
|
|
active

Joined: Fri, Sep 22, 2006
759 Posts
 |
When you say brick detailing, do you mean changing the pattern on the face of the brick or simply creating recesses. You could accomplish both by creating separate walls, and embedding a different wall within a hole cut in the primary wall let say for a particular recess, and pattern change, if you want to add soldier courses or something like that you could do it with a sweep, or if you wanted to do a recess, you could do it with a sweep.
|
This user is offline |
|
|
|
active
Joined: Thu, Jun 19, 2008
160 Posts
No Rating |
Yeah sort of mb I was hoping there may be any easy way.
I have done a version in pshop but it would be good to just create walls with the recessed & protruding bricks & corbells so that I could just change the views & still have the detailing show in different light etc.
I may have to go back to printing a line view version & then marking it up with pen for the varying options i want to investigate.
Cheers Pele
-----------------------------------
I will be scoring goals soon, I'm in the back line at the moment!
Cheers Dermot
www.dmbd.net |
This user is offline |
View Website
|
|
|
site moderator|||
Joined: Tue, May 16, 2006
13079 Posts
 |
I would create this as a wall hosted family that either cuts it's host or adds elements to the face.
Should be very simple to do.
|
This user is offline |
|
|
|
active
Joined: Thu, Jun 19, 2008
160 Posts
No Rating |
Ahh thanks Hub, wall hosted family or adding elements?? not really sure what they are or how to create them.
By adding elements do you mean like mass elements??
-----------------------------------
I will be scoring goals soon, I'm in the back line at the moment!
Cheers Dermot
www.dmbd.net |
This user is offline |
View Website
|
|
|
site moderator|||
Joined: Tue, May 16, 2006
13079 Posts
|
You ask "... mass elements".... Is it a mass you are adding to? I don't think so so why go there. This is a wall so create the family in the wall category.
This might be easier for you if you do it as a face based family instead of wall based but either will work. Newbies have trouble with wall based so:
- open your face based generic template
- Jump up to categories and parameters and set the category to wall
- Now, extrude your brick objects on the face of the host.
- Be sure and set the materials for these solids. I would only use a color and surface - no brick texture.
- Or add your void objects on the face going into the host and set them to cut the host
- Finish - save and load into your project
- Open a 3D view or elevation and place on the host wall.
|
This user is offline |
|
|
|
Similar Threads |
|
Pilasters and Brick Detailing |
Community >> Newbies
|
Thu, Mar 20, 2008 at 2:43:34 PM
|
3
|
|
Sections and Detailing |
Revit Building >> Technical Support
|
Mon, Mar 19, 2007 at 9:14:17 AM
|
2
|
|
How Do I Get Brick Soldier Course Around Arched Opening? Image Attached |
Revit Building >> Technical Support
|
Mon, Oct 28, 2013 at 11:17:02 AM
|
11
|
|
Adjust Brick veener to move down agianst the brick ledge. |
Revit Building >> Technical Support
|
Thu, Jul 26, 2018 at 2:23:13 PM
|
4
|
|
Brick Colour |
Revit Building >> Technical Support
|
Mon, Jan 13, 2014 at 9:27:03 AM
|
4
|
|
|
Site Stats
Members: | 2161655 | Objects: | 23325 | Forum Posts: | 152479 | Job Listings: | 3 |
|